Menu

Show posts

This section allows you to view all posts made by this member. Note that you can only see posts made in areas you currently have access to.

Show posts Menu

Messages - kinggambit

#1
bad news is that global settings was already set "full material name" to off.

good news is that I tried the "full material name" method and everything worked like a charm! Will probably just use this method in the future since it's coincidentally useful for for organizing VMT's.

Thanks Shawn!
#2
Turns out it might be more problematic than I thought.

The checkmarks showing even after successful texture exports isn't necessarily an issue (only happens to vmt and normal maps), but I think it's symptomatic of another issue I've been experiencing where the vmt gets exported to the wrong directory (i.e. /de_spirit/ folder is picked but it exports to the root material directory. Material is completely invisible and lags when I try it.)

#3
Hi shawn, long time no see! Thanks for filling me in. Haven't been modeling in almost a year. Just took some elbow grease to manually change it all back to standard.

EDIT: False alarm. Got it to work though I got no idea how... Will not question the source engine gods. Just glad it's working again!

I got everything to work for the most part. No errors anymore when using "Check for problems".

Very odd issue though after my first export which went fine (model and mats worked). Now though, one of the materials (prayerwheel_base.vmt) keeps being checked when I open the texture exporter. That material is black in hammer/game.


I remade everything (model, wwmt object, material) but that one material seems to be problematic.
#4
Started modeling again and I made the mistake of converting an old 2017 scene fully and saving without any back ups.

No idea if this is even a wall worm issue but 2 issues currently: 1. All the standard materials were converted physical materials, and more importantly 2. Any standard materials I make disappear when I reopen the scene.

This happened even before I touched WallWorm again so I'm assuming it's a 3ds max issue, but I was hoping anyone might have similar experiences or knows what might be happening.
#5
False alarm? It seems to have readjusted to the default position. Disregard post! :-X
#6
Bug Reports / WWMT menu stuck on second monitor area
November 23, 2017, 02:04:51 AM
Waiting on a cable to get my multiple monitors going again and I noticed if the WWMT menu is in a secondary monitor's screen space, the menu will stay there when I swap to "single screen" mode which makes it inaccessible.

Not really a bug nor is it urgent or that inconvenient. Just thought I'd share the info.

#7
old bump.

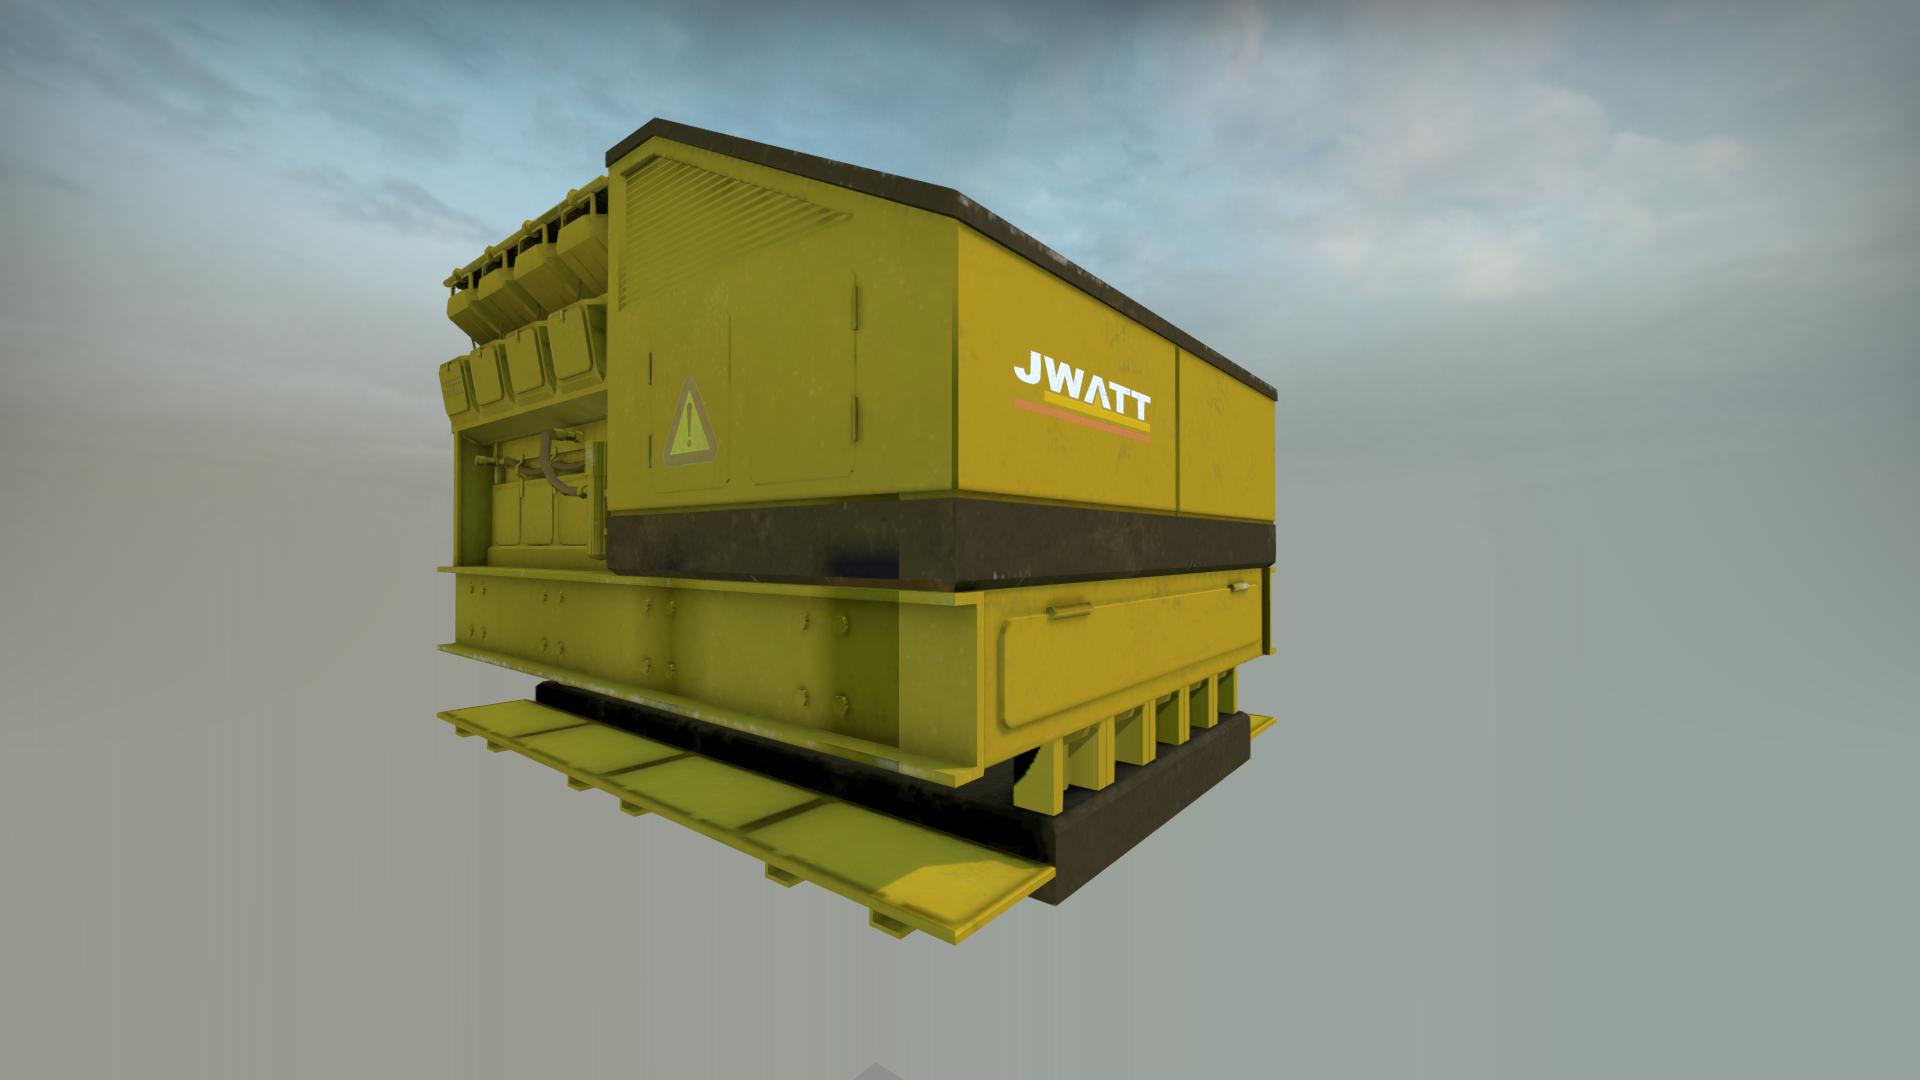
FBX checked will result in a pitch black model. Compile shows fbx was used (FBX file was exported and referenced in the QC). VMT uses $decaltexture "de_aurora/decals/decal_machinery" which is correct. I tried setting the uv channel to 0 unsuccessfully.

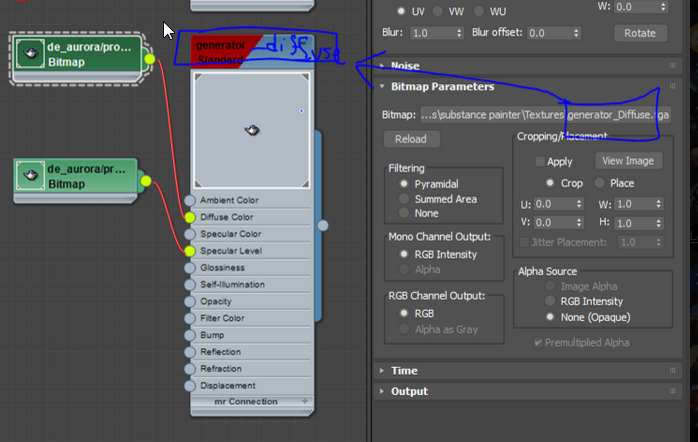
edit: Apparently, I had to name the main material as the diffuse bitmap's name and it worked! ;D Yanzl took the liberty of looking into the fbx to see what material name it was referencing. Beyond my level of understanding but in case anyone runs into the same dilemma in the future.

#8
I have a cursory understanding of animation so please forgive any misunderstandings. I've been struggling with vertex animation for a flag in the wind.

So far I've baked my wind-simulated cloth modifier (No bones/skins used) into a bunch of shapekeys(?) as an Editable Mesh: https://gfycat.com/AstonishingOfficialAmazontreeboa

Could someone guide me in the right direction? I got lost in all different pages I've read that all seem to use different methods and formats and types of animations. My best guess so far is to attach my flag to a bone, create a VTA, then let WW compile the VTA?

Some of the pages I've read up on:
http://dev.wallworm.com/document/161/advanced_bone_settings.html
http://dev.wallworm.com/topic/57/dmx_smd_and_vta_exporter.html
https://developer.valvesoftware.com/wiki/Vertex_animation
https://developer.valvesoftware.com/wiki/Flex_animation
https://developer.valvesoftware.com/wiki/Creating_Flex_VTA_files_with_3D_Studio_Max

#9
That's some fortunate news! Will definitely try it out.

Awesome work as always Shawn!
#10
Valve info on feature:http://blog.counter-strike.net/workshop/maps.php#uv_set

From what I've heard, I guess FBX just combines a lot of the information opposed to OBJ which requires a different process than WW's to compile a MDL.

If the workflow below is correct, could anyone explain how to do the fbx to smd?
Is there any point in this workflow where I can just plug it into WW again?

Export a mesh as FBX -> convert FBX to SMD -> manually make QC and use WW SMD Export (or crowbar?) -> compile into MDL

#11
ah okay, thanks for the info. It's no hurry or anything, just thought I'd report it.
#12
OS: Windows 7

Description: Simple animation for escalator steps that loop in upward direction using a path constraint. Created "upward" sequence and works fine. Created "downward" sequence and checked the "Reverse" option but when model is compiled, the "downward" sequence will still be moving upward.

Tested the "reverse" option on a test animation of a simple box moving and still got the same issue.

max file: https://drive.google.com/file/d/0B-vAs10wX5pRN0I1cWFQbWJ5dHM/view?usp=sharing
#13
Quote from: wallworm on May 19, 2016, 09:17:56 PM
Once done, you can copy this constraint tracks, paste to another step and simply offset its keys so that it starts at a different percentage one the path.

I got up to this point but had to assign the percentage curve a "bezier float" controller to be able to add keys into it. The first step was successfully animating as I wanted it to.

For the duplicates though, I'm using this maxscript right now but it doesnt seem to move the percentage curve's actual keys (only position of duplicates along the path constraint):

previous=$
new=instance prev
select new
paramwire.connect previous.pos.controller.Path_Constraint.controller[#Percent] new.pos.controller.Path_Constraint.controller[#Percent] "Percent+0.018"


Not sure how to get the actual percentage curve to offset though other than manually (and even then, copying the curve over would cause my duplicate steps to reposition to the start of the path)

Anyone know why that last line in the max script isn't moving the percentage of the path constraint?
#14
ah I see. So there's no real way of preventing that interpolation?

I know this is probably the wrong place to ask this but I'm oblivious on animating. I used a maxscript online to equally place the steps along a path that updates live to any changes to the spline.

Is there a way to "squish" the new downard path line so that it only takes 1 frame to travel for all the steps? Seems like it'd save a lot of extra steps from being made as well.

edit: actually, I'll do some research on curve editor before and get back to you guys. Animation has been something I've been meaning to actually grasp.  ;)

#15
I'm pretty sure what's happening is that instead of teleporting an escalator step from the end of the path to the start, the step will move really quickly across resulting in those quick flashes of the steps. Tried testing out the various "Sequence" options but havent gotten it to fix the issue.

Here's a video clip of the animation issue for an escalator:
https://www.youtube.com/watch?v=lIhkXKTFqSM

Not sure what's causing it but it seems perfectly fine when in 3ds max. Here's the max scene if interested:
https://drive.google.com/file/d/0B-vAs10wX5pRV1VTVkVmVGdQSnc/view?usp=sharing
SMF spam blocked by CleanTalk